EEC-TUNER PAGE


Click on any picture for a larger version.


EEC Tuner Pics and Installation

Here is a picture of the box. Remember, good things come in small packages :)

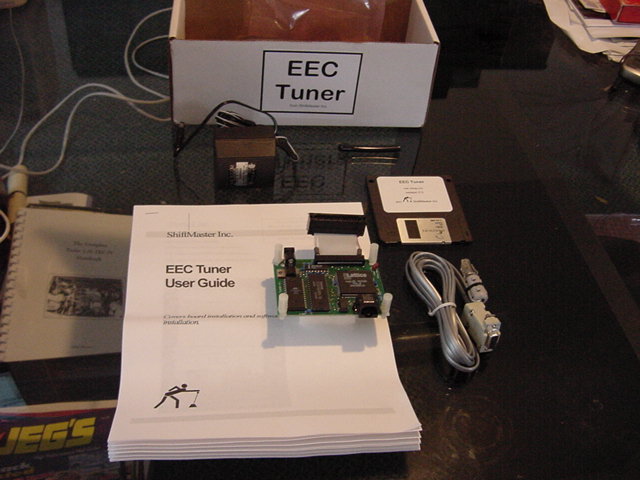
Also pictured are the contents.
- Software disk
- EEC Tuner board
- Serial Cable
- Instruction manual
- AC Adapter
- Edge guard strips (not used)
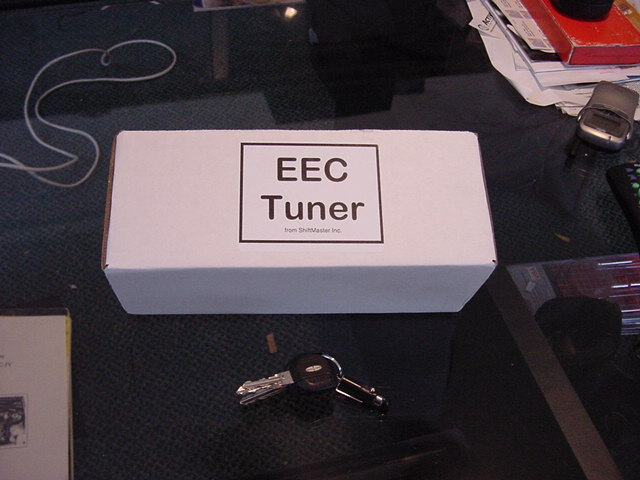
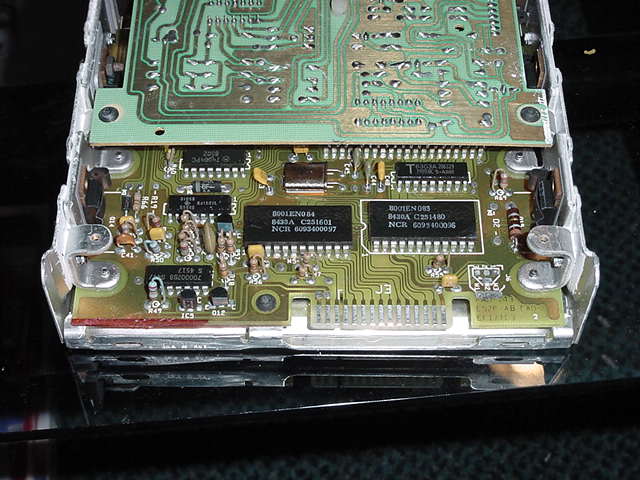
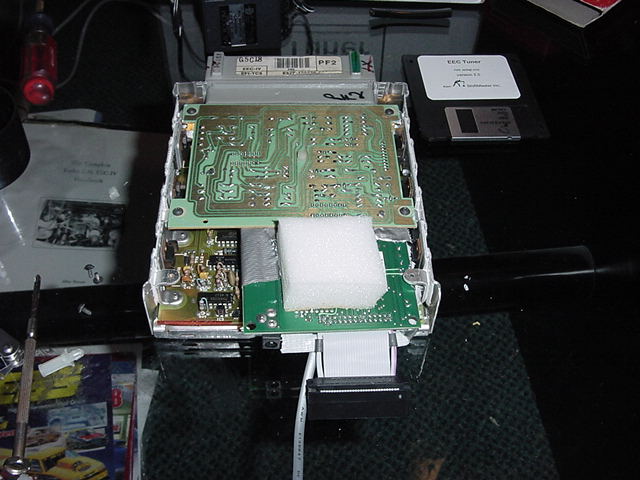
This is a shot of the EEC with the cover removed. This is completely different than the picture of the EEC in the manual.
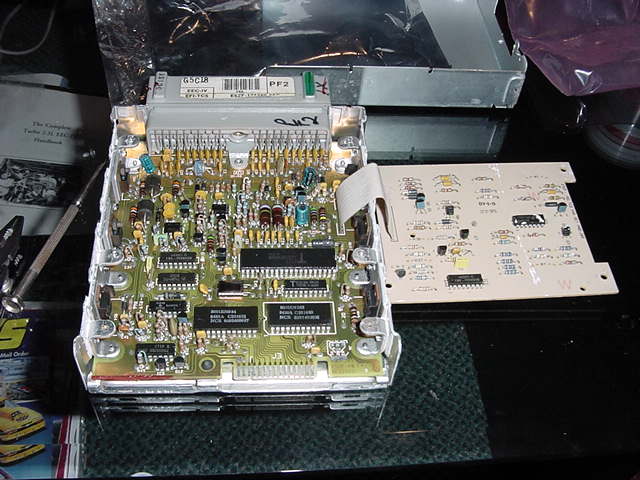
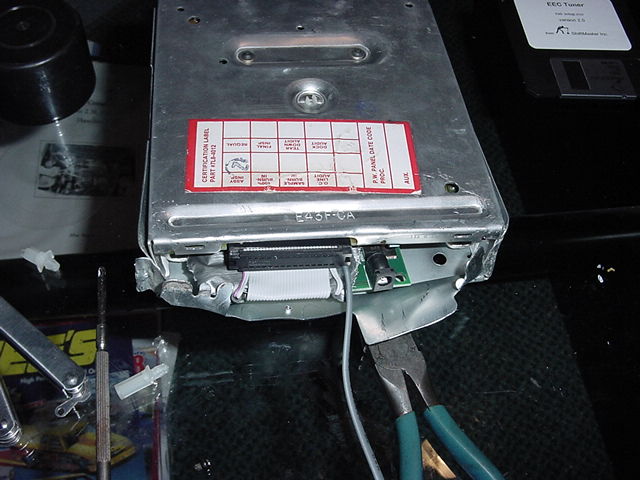
Here is a pic showing the fit. Also the modified cover.
Back to the top
Installation
This installation is not very difficult at all.

Materials and tools needed: When I first received my package, I thought "This is it? Where's the rest of it?" I opened the box, made sure everything was there, then I read the instructions. Piece of cake, I thought. WRONG.
1st, pull your EEC out of your car. It is located in the bottom of the passenger's side dash. Basically, under the glovebox. You may have a fiberboard type panel in the way. I didn't. There are two spring-like clips that you pry away, and that side of the EEC will drop out, then you slide the other side out. The connector is held in with a 10mm bolt. As you unscrew it, the connector will come out with it. Make sure the connector comes out evenly, and not at an angle.
On the top of the EEC will be a calibration code. Mine was a PF2. Other examples are PF3, PK1, PC1, etc. Remember this code.
Bring the EEC to your work area. Now comes the fun part.
The smallest torx bit I had was a T-10. It didn't fit. I checked Sears and Home Depot, and they didn't have anything smaller. Just for the hell of it, I tried a T-10 screwdriver, and it barely worked. I ended up filing the edges on mine down a little. I'm guessing this is a special bit. Ford must not want you messing around with the EEC.
An inspection plate is held on with a single torx screw. I took this off first. The cover is held on with two torx screws, one on each side near the connector. Remove the cover.
You'll notice that the EEC Tuner is not going to fit without some "cosmetic" surgery to the cover. I pulled the four plastic legs off of the EEC tuner board and wrapped it with duct tape to prevent the EEC Tuner from contacting the main board. I was later told duct tape is conductive. Since I had some problems, I will be switching it to electrical tape, and I suggest you do the same. Better yet, use some thin cardboard taped in few spots with electrical tape.
Remove the four screws from the top board, and lift it up. Insert the serial cable into the EEC tuner, lay it in place, so the edge butts up against the top board, and route the serial cable out. Plug the EEC Tuner into the main board. Use electrical tape to make sure the connector doesn't come off. Now it's time for the cover mods.
The best way is to mark the section on the cover that needs to be altered, then cut that section and bend it up just enough so it's out of the way. Then reattach the cover. The inspection plate will not be used.
The EEC holder in the car will need to be modified. If you just bent the cover where it was needed, then all you have to do is bend the corresponding tab on the holder. Don't worry, you'll still have 3 of the 4 in place. Attach the EEC connector by screwing the bolt in, the put back into the modified holder. If you don't have a laptop, get used to this step, as you'll have to do this everytime you want to program the Tuner.
Follow the instruction manual for programming. I use PCMX explorer instead of the standard software.


Back to the top