EXHAUST PAGE


Click on any picture for a larger version.

Downpipe Comparison
Here are some pictures of a comparison of the stock downpipe to the Sacramento Mustang 3" downpipe. This is the downpipe for the 84 Mustang SVO and does not have the exhaust flange on the end. It is all Mandrel bent. This thing is HUGE!!!!
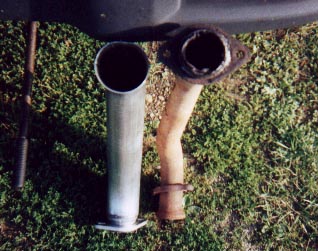
Outlet comparison. You wouldn't think 3/4" would make that big of a difference, but it makes a 78% increase in area!!!
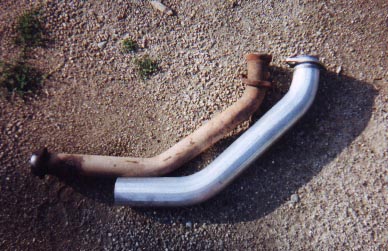
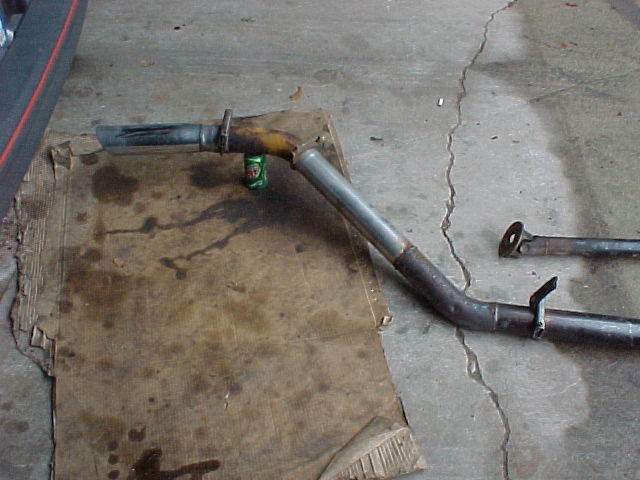
Side by side length comparison. The stock looks a lot longer, but in the second photo you see it is only about 1.5" longer.
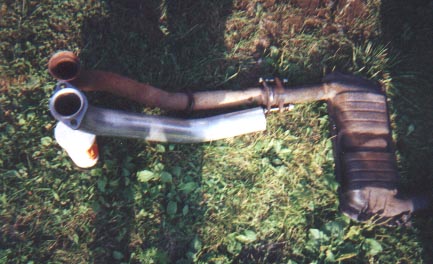
Here is a top/length comparison. This also shows the stock catalytic converter, which is bad.

Back to the top


Homemade 3" Exhaust
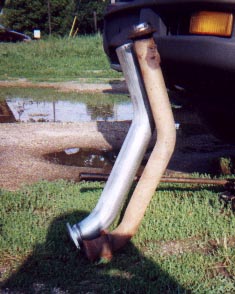
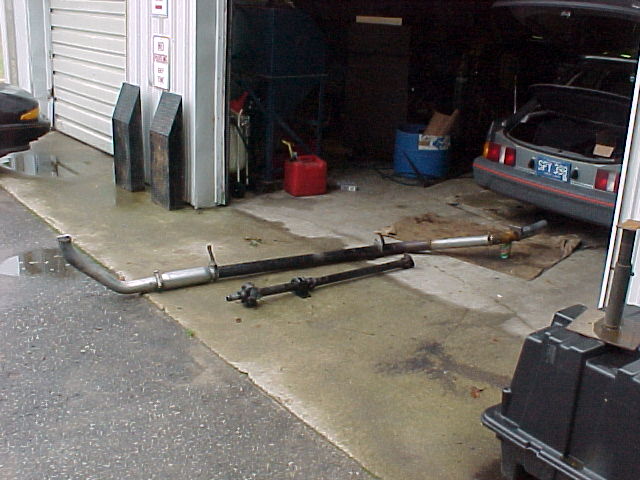
Here are some full length pics. The driveshaft is thrown in for length comparison
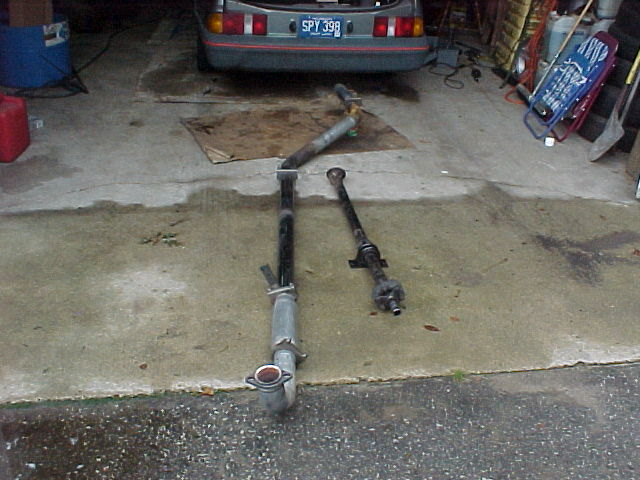
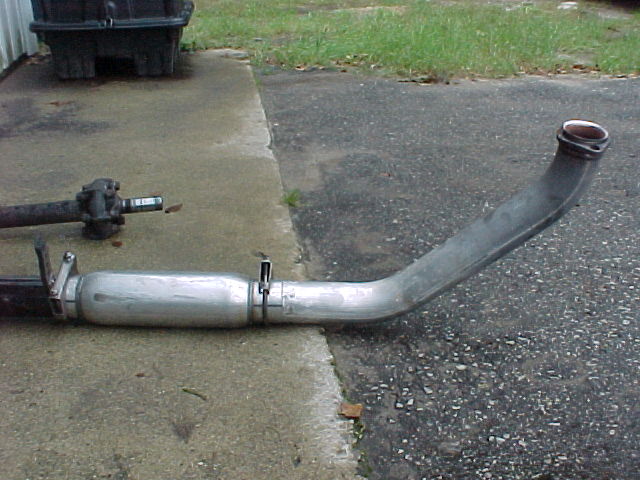
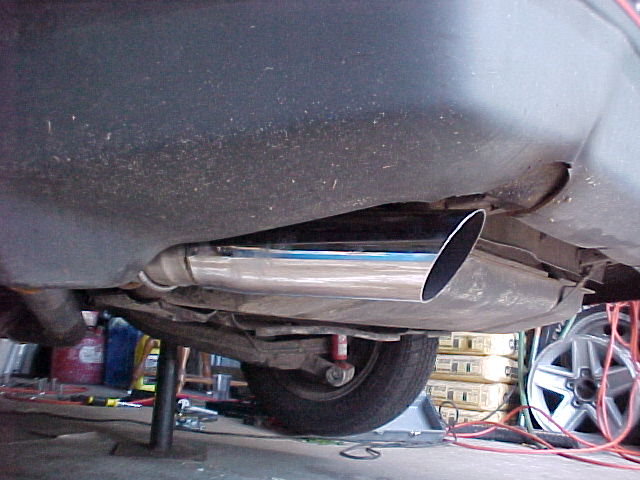
The first pic is the Sacramento Mustang downpipe and Dynomax "Bullet" muffler.

The second pic is the rear section of the exhaust
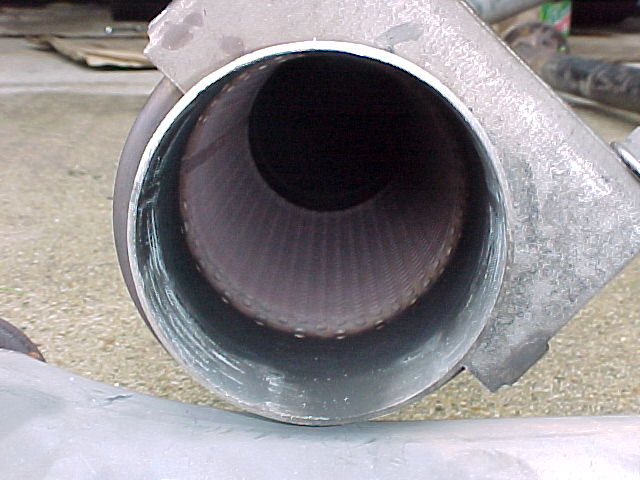
Fist pic is the inside of the Dynomax muffler. As you can see it is a straight through design.

The other pic is the Hedman Hedder tailpipe tip.
Here are a couple shots of the routing. You can see the control arm in the first pic, and the differential case in the second.
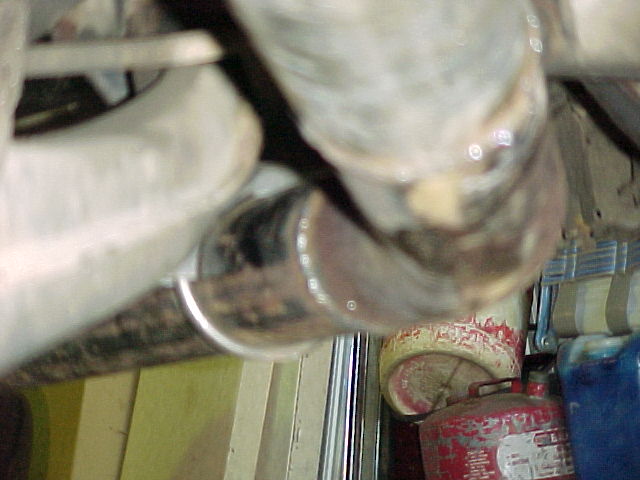
Another routing shot. You can see how close it comes to the tire. I am currently running the stock 14" "Phone-dial" rims.
Here are some clearance shots front and rear. The muffler body is the lowest point. My car has been lowered 3/4"

Back to the top


Homemade 3" Exhaust This is the procedure to put a 3" exhaust on an XR. It took me a half day, plus a couple hours the next day (I needed some parts, and the stores were closed)

Items used, prices, and part numbers: Tools needed: Total spent: $222.22 - with shipping on the various items, it works out to be around $235 total.

The dynomax muffler is a straight through design. Now that I think about it, the 18" long version (which is $1 more) probably would offer a little more sound absorbtion, with little penalty on flow, and if I did it again, I would probably use it. If you are going to use a catalytic converter, you might want to skip the muffler for now and see how it sounds. My original system just had the cat, and it was pretty quiet.
The mandrel bend is U-shaped. You figure how much of an angle you need with it, and cut it and weld/clamp it in. The only thing I didn't like about it was it was really thin. When trying to tack it for trial fitting, it would blow through pretty easily. Also, after about a week of use, the bend sections were really rusty compared to no rust on the rest of the exhaust.
I probably could have gotten away without using the 18" extension, but it had a flared end which made things a lot easier to figure out. I just guessed on the 5 ft section of tubing. I ended up having to take about 6" off of it, but now I have a piece I might be able to use in the fabrication of a cold air intake install along with a section of the mandrel bend. You could probably do the whole thing with just extension pieces, but it won't look as nice.

How I did it:
I put the muffler on the end of the downpipe and ran the 3" exhaust tubing straight back (at a slight angle towards the center) to an approx 45 degree angle bend. The 18" extension ran from here to another approx 45 degree bend. I ran it between the center diff and the control arm (on the drivers side), at a slight up angle. I welded the exhaust tip to the 4" extension, then put the tip on the end of the bend. I tacked all the pieces together until I got a fit that was really close, then welded it up. I did not weld the pieces that I used a clamp on.
I used clamps on both ends of the muffler, one for the mandrel bend coming out of the 18" extension, one for the 4" extension on the tip, and the last for a hanger approx 3/4 of the way down the 3" tube. I put all the clamps in with the nuts point up for ground clearance and appearance issues. I put a hanger on the end of the muffler, one approx 3/4 of the way down the 3" tube, and one on the 4" extension on the tip. The exhaust runs about 1" away from the tire and about 1/2" away from the seam/lip on the gas tank.

Final Analysis:
I like it. My butt dyno says it's working great. It is loud, not illegal loud (may be borderline depending on the officer - I've been pulled over for less) but is definately noticeable. I guess the best way to guess at the noise level is this: at highway speeds, you can't hear the exhaust with the wind noise when the windows are down. Anything speeds below that and you can hear it. It doesn't have a V8 sound, but it also doesn't have that coffee-can, rice-burner sound.

What I did wrong:
For some reason the downpipe seems to be loose. It can be moved with a little effort, no matter how tight I got the nuts. I think the threads are worn out on the exhaust studs for the down pipe, or I ran out of threads to use. Later analysis showed the threads were well worn. I put some 1/2" id washers in there to help the nuts grab some "good" threads.
The exhaust tip was slightly up and in, and melted the bumper right above it (I needed a new bumper anyways). I put another 4" extension in, which took care of the problem. This could have been avoided with better planning, but my final "tweaks" to get the exhaust in position put it just out of place.

Tips:
Start with the downpipe and muffler on first to get an idea on how much of angle you can get away with. I started from back forward, to make sure the tail section would fit. This is the critical part, as there isn't much room for error. You can use jackstands, or pieces of wood, or whatever, to hold your exhaust pieces in place.

On a final note, when I had just a downpipe and muffler on it, I could get flames to shoot out when lifting off the gas at full boost. I don't know if it will do it with a full exhaust, but it would be cool if it did. I have yet to verify this.

Back to the top