PROCEDURES
Here you will find the following procedures:
Disclaimer: This information is provided as a guide. ALWAYS use jackstands when using a jack to lift a car. Check, recheck, and check again before attempting this procedure. I am a shadetree mechanic, so these are shadetree (not shady) procedures. What works for me, may not work for you. If you don't like the way I do things - too bad. When making changes to suspension components, there are certain risks involved. I am not responsible for any damage caused by these procedures, blah, blah. Oh, and my lawyer can beat up your lawyer. So thbbbbt.
This one is a little harder to do than Aaron's installation, but I like it because I don't have to worry about set screws vibrating out and the shift knob will not feel "loose" if you cut the shaft too short (because you'll need a new shifter). It also gives you a larger variety of shift knobs you can use (junkyard = cheap) for a factory look. Plus it was cheaper for me than to buy a new universal knob (see Notes) The shortened throws feel real nice, and I would highly recommend a short shifter to anyone.
Materials needed:
- Phillips head screwdriver
- Flat blade screwdriver
- Ruler
- Shift knob that screws on - hole must be less than 19/32"
- Vise
- Drill or drill press
- 19/32" Drill Bit
- Thread Repair Kit - 7/16" Course thread
- Hacksaw or cut-off wheel
- 7/16" Course thread Tap (see Notes)
- Oil for Tap (WD-40 will work)
- Duct tape (maybe - see text)
- 12 pack of your favorite "beverage" (optional)
Part 1 - Disassembly
First remove your shifter knob, then the plastic trim panel (3 screws). Unplug the wiring from the trim panel. If it's stubborn, use a screwdriver, but be careful not to touch the pins (ZAP!)
Remove the shift boot. You can try to remove the insulating boot, but if yours is like mine, you'll bust the two bottom screws and remove the top two nut inserts. This is why they invented duct tape. The only good reason to remove it is to let the metal shavings fall out. Of course, this is why they invented the Shop-Vac. Do what you want, but don't say I didn't warn you.
Part 2 - Shift knob preparation
Mount the shift knob in a vise and drill it out using the 19/32" drill bit. Using the tap provided in the thread repair kit, tap the shift knob. Then use the install tool to put the thread insert in. The inserts I had were about ˝" long. If you have a tall shift knob, you may have to use two (or more) inserts. I only used one.
Part 3 - Shaft preparation
Push the insulator boot all the way down on the shaft. Then put the shift boot back on and push it all the way down (The factory shift boot has about a 1" thick section on the top) and mark this point on the shaft (Don't' worry - the shift boot will cover this mark up) Remove the shift boot (I swear, this is the last time)
Measure how deep the shift knob is. This can be done by sticking a screwdriver in it, marking the bottom with your finger, then measuring with the ruler. You will need at least this much room above the mark on the shifter shaft. Add at least ˝" "fudge factor" on top of this and mark the shaft (remember the old axiom - "He who uses a fudge factor, curses less") This is where you'll be cutting. I think I chopped almost 3" off of my shifter.
Hack that sucka! Try to make sure the cut is flat across the top. Now, tap the shaft. Tap it at least ľ", or more depending on how many inserts you used. Make sure you use the oil. If you didn't remove the insulator boot, you may want to put an old rag or some paper towel around so you don't get oil everywhere.
Part 4 - Assembly
Clean everything up and test fit the knob to the shifter. Reassemble everything and you are done! Now go enjoy your short shifter.
Notes:
- This installation did not cost me anything (but time). My dad had all the necessary tools. If you do not have all the tools necessary, then this installation may not be for you (tools = expensive).
- I used a shift knob from a new Toyota Celica 6-speed. It's small and round, about 2" in diameter, and the shift pattern is correct, except for 6th gear. The bottom also had an indentation, which the stock shift boot fit into perfectly. A junkyard should be able to provide a suitable replacement, plus you may be able to get a new shift boot. Another good place is the Detroit Auto Show, but I shan't elaborate :)
- With some modification, the stock shift knob may work if you shorten it by trimming the bottom and drilling it out - but this is mere speculation. I personally do not like the stock shift knob, so I didn't bother to check into this.
- Double check the tap size to the shaft size. It's been a couple of months since installation, so I'm guessing here.
 |
 |
| Before |
After |
 |
 |
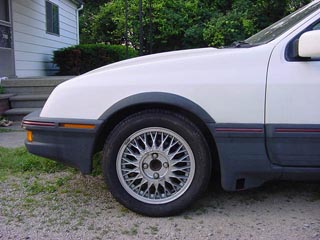
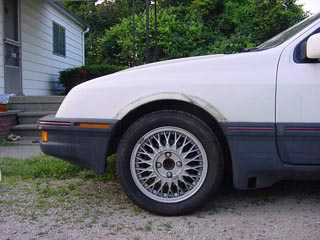
| Front Before |
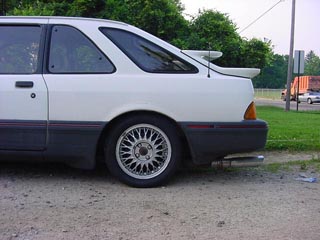
Rear Before |
 |
 |
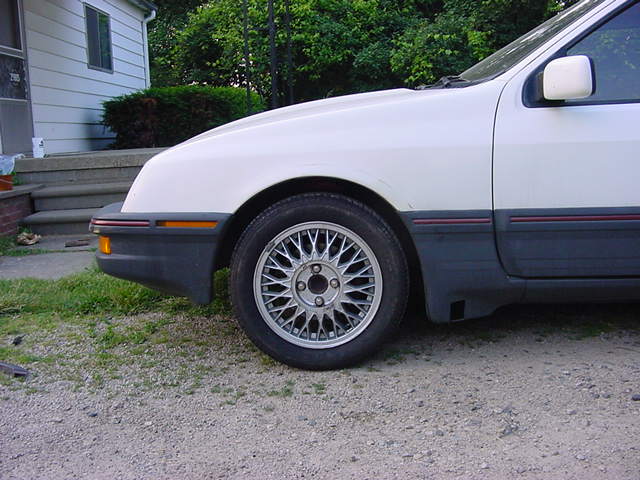
| Front After |
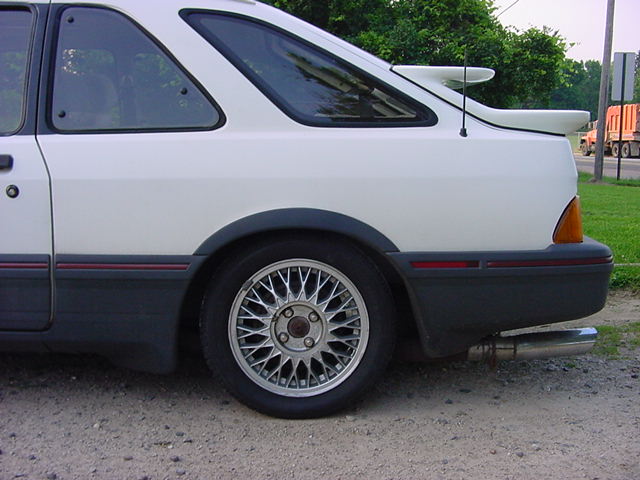
Rear After |
 |
|
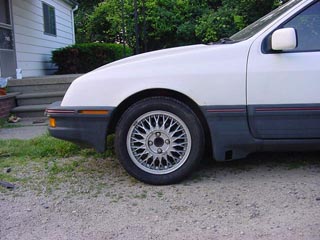
| Dirt ring left over |
|
There are four screws holding each arch in. Remove the screws, and the arch pulls off. There will probably be a lot of dirt underneath, possibly some paint rubbed off or dirt ground in.
The wheel well liner will be visible. You can pry it up and over the lip to hide it. I had to cut a slit in each of the front liners where the liner meets body side molding by the door.